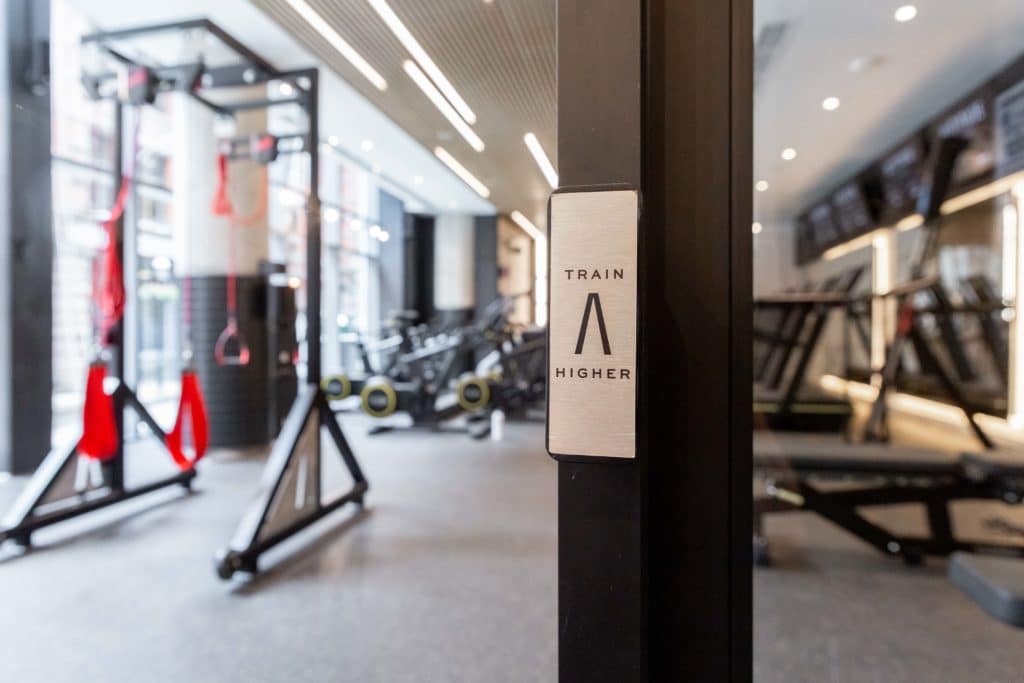
4 Common Misconceptions about Altitude Training
Altitude training has been around for a while – ever since the 1968 Mexico Olympics. Despite its long history, it remains relatively unknown, especially here in North America. This is because altitude training has been used only exclusively by the pros. Only recently has the technology become more accessible to everyday athletes. Because of how elusive it is, we have come across some misconceptions about altitude training. Here are 4 of the most common ones we’ve heard:
1. It’s only for people who are planning to race at altitude
No, altitude training is not just for people competing at altitude. It’s also for people looking to improve their athletic performance at sea level, specifically increase their VO2 max, aerobic capacity and power output.
Look at it like resistance training, but for your endurance. Reducing the oxygen percentage in the room is like adding resistance to your workout. And building that kind of training into your program will improve (or at the very least, maintain) performance at any elevation.
2. Altitude training is dangerous
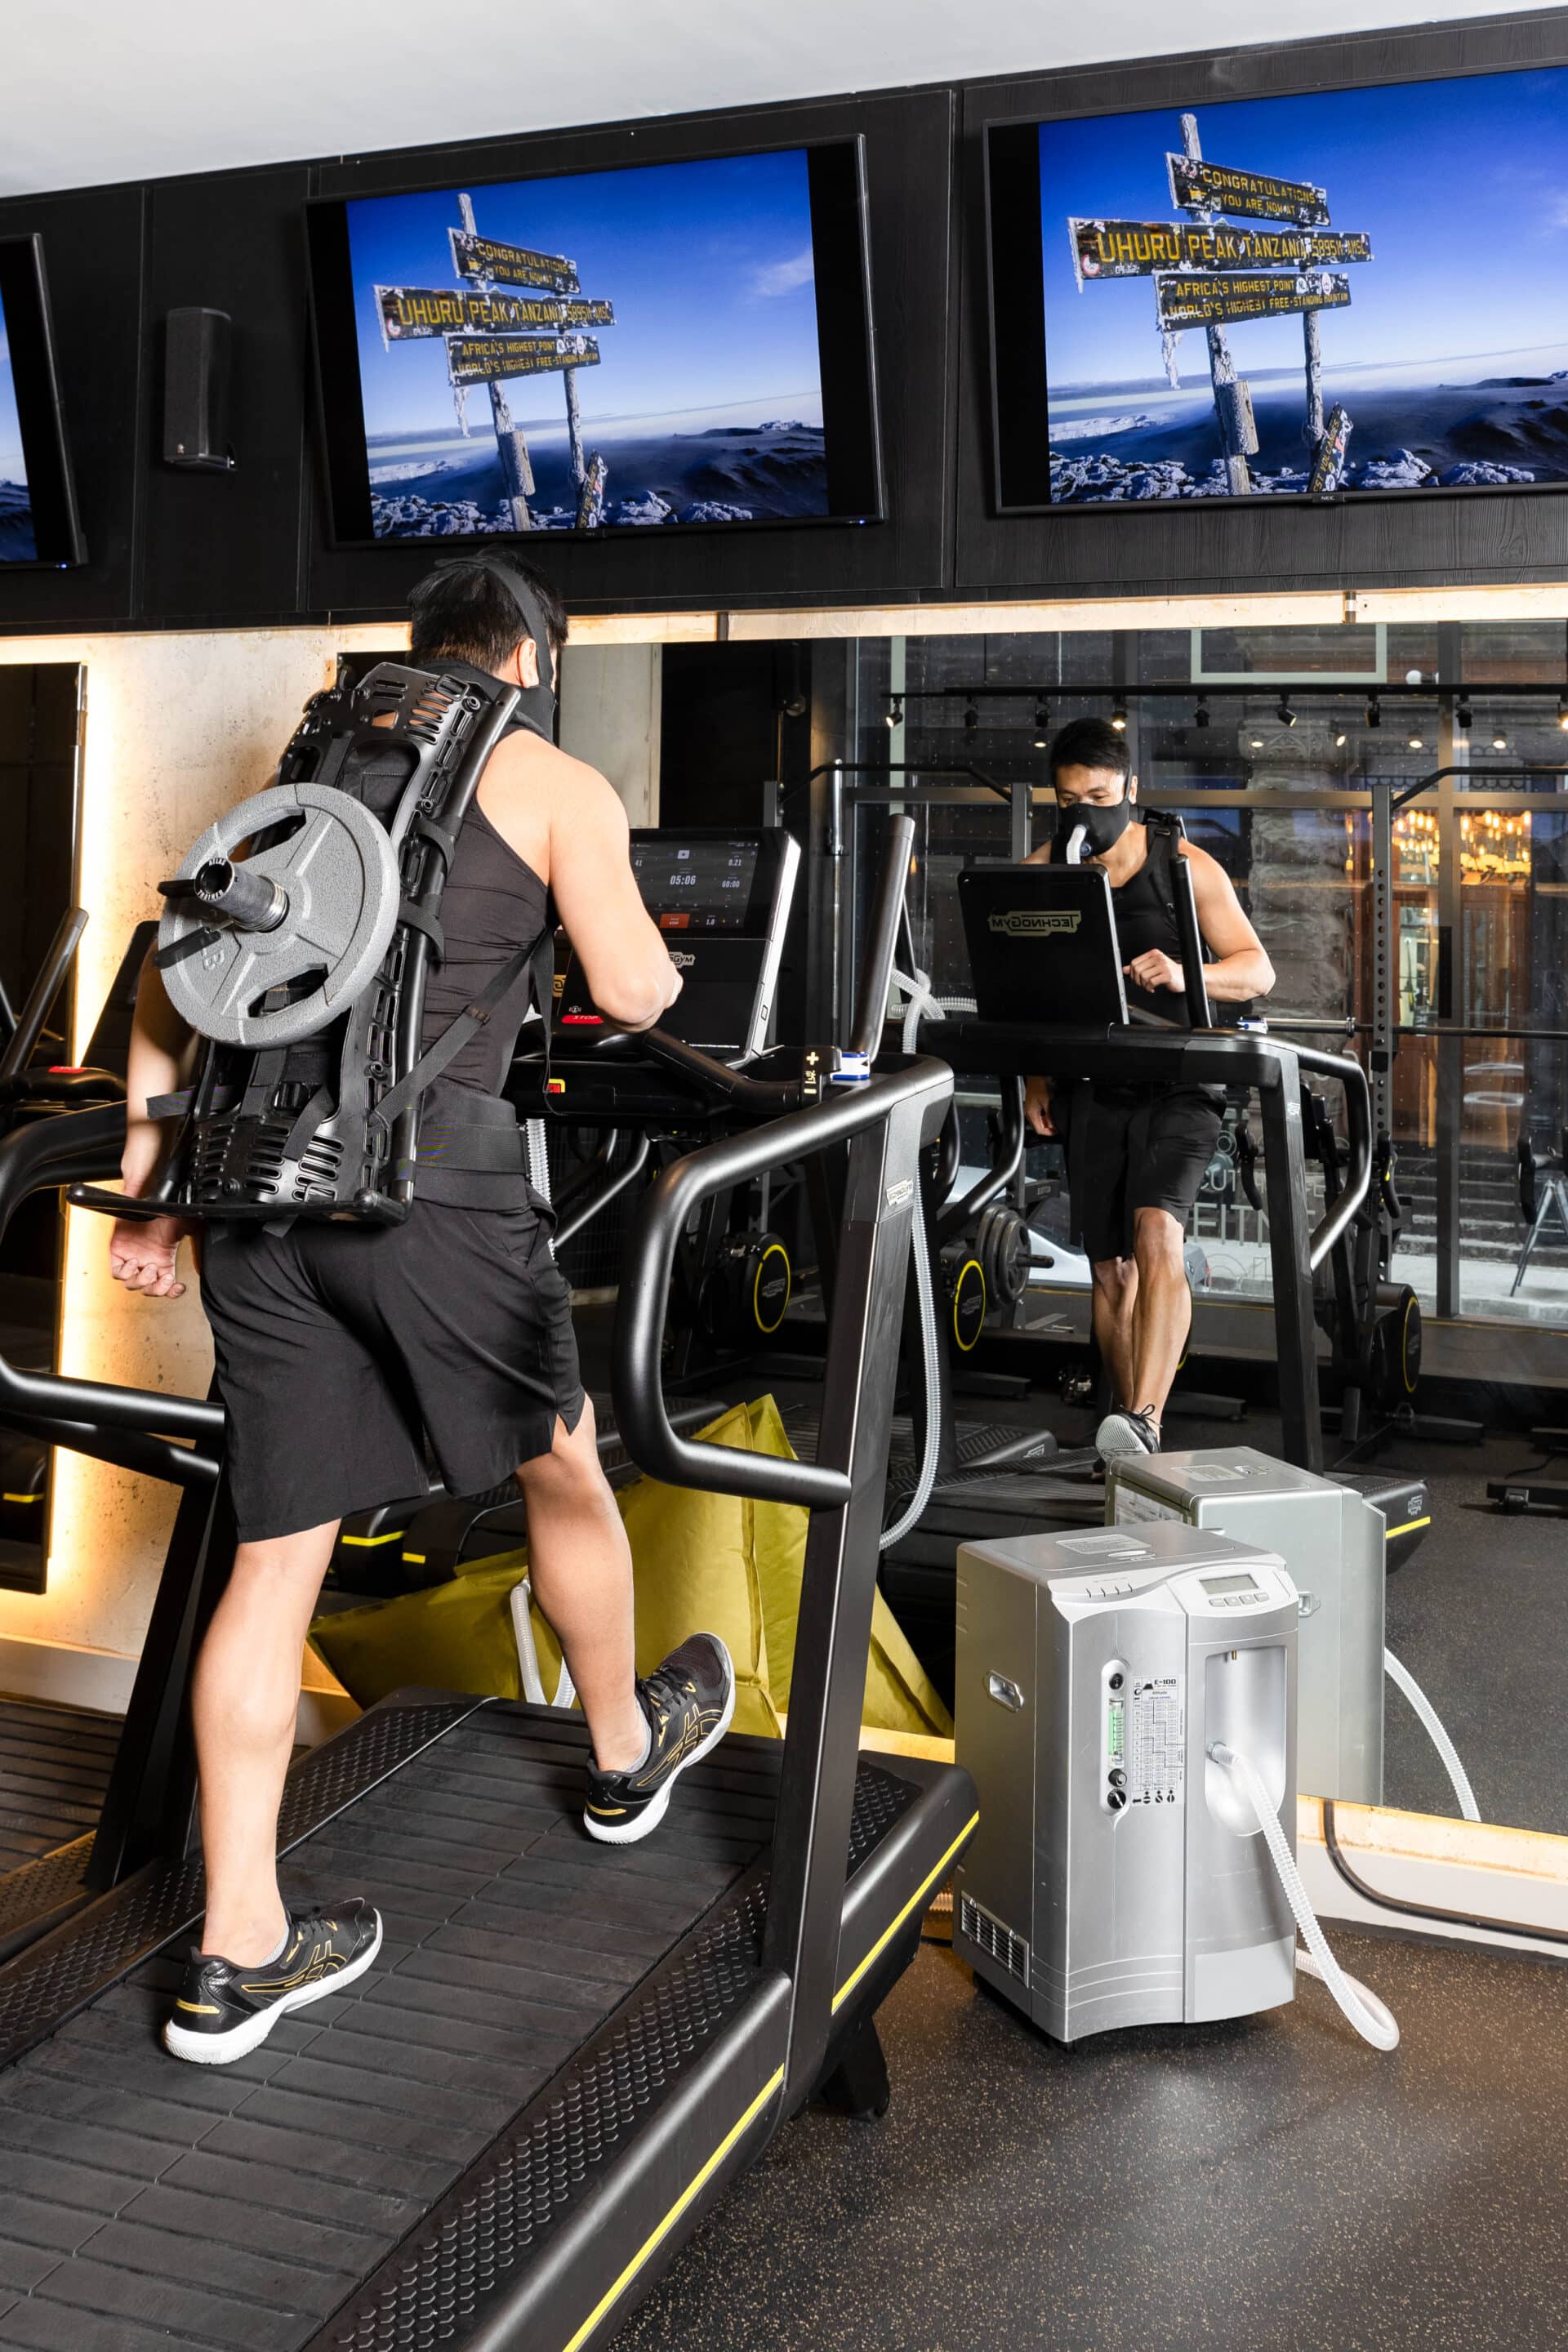
We commonly get the question – “Is altitude training safe? There are risks associated with any form of physical activity – whether it be hot yoga, a high intensity spin class, or a run around the neighborhood. The same goes for training in a simulated altitude environment. To reduce risk as much as possible – members are assessed and screened before entering the altitude room. During training, members are given carefully regulated programs based on their conditioning. Additionally, members are always under supervision from trained coaches. Heart rate monitors and pulse oximeters are used regularly to monitor exertion.
Of course, not all forms of exercise are safe for everybody. And altitude training isn’t recommended for people who are pregnant, have breathing problems like asthma, have high blood pressure or other serious medical issues.
3. But I’ll lose strength and power exercising at altitude
Training in reduced oxygen typically means you are unable to reach the same levels of ‘intensity’ as you can at sea level. It is this stress of hypoxia on the body that stimulates it to be more efficient in using oxygen and providing energy to active muscles, improving aerobic conditioning and endurance. Continuous exposure to high altitude will cause you to lose power. But, when you combine simulated altitude training sessions (2-3 per week) with your regular strength and power sessions at sea level – you can maintain, and actually boost, your strength and power levels no problem.
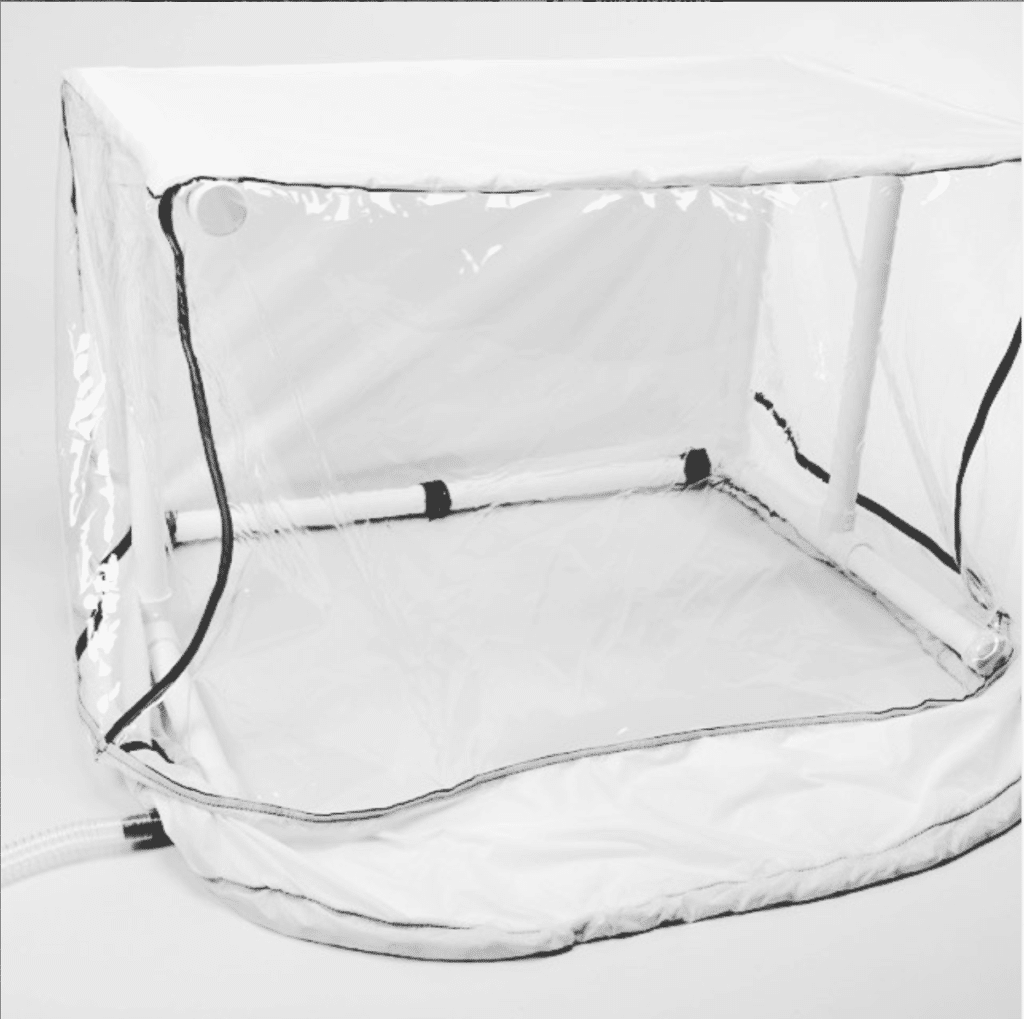
4. I’ve heard that you are supposed to sleep in an altitude tent. Why exercise?
Altitude tents are designed for the “live high, train low” model. This method of training (sleeping at altitude) is commonly used by athletes to increase their red blood cell count and improve overall performance.
For those of us living at sea level, and who aren’t professional athletes – altitude tents can become impractical. We don’t have the benefit of naturally ‘living high’ and it can be hard to get the most out of an altitude tent – which you should be using for 4 weeks, 16 hours/day while maintaining training. See here.
A great alternative is simulated altitude training, which follows the “live low, train high” model. You already live low, and perhaps mostly compete low. Training high gets the job done quicker (2-3 sessions per week is usually recommended) and it’s much easier to convince your partner about heading to the gym than sleeping in a tent.
_________________________________________________________
So now hopefully you can answer the question “Is altitude training safe?” And if you have any other questions about altitude training and memberships at Altitude, please contact us at info@altitudeathletictraining.com or book a coach consult here.
Follow us on Instagram and Facebook for the latest updates on Altitude Athletic.