Going Higher: What is altitude training?

In today’s highly-developed world, gaining a competitive edge is more difficult than ever. Speed suits for swimmers, carbon fibre soles in running shoes, and aerodynamic helmets and bikes have become more and more available to recreational athletes looking to up their game. However, as fun and cool as these tech trends are, they don’t actually change the most important thing – your own personal human engine.

Within the millions of blood vessels in your body travel red blood cells, called erythrocytes. The role of these erythrocytes is to transport highly-coveted oxygen to tissues in order to power your body. If you decide to train for a marathon and get going on a training program, the body begins to produce more and more red blood cells over the weeks. It does so to deliver more oxygen to starving muscles that are working harder and longer than in previous weeks.

This is a normal response to training and one of the reasons why a long run weekly is very important! The quality of the red blood cells also begins to improve as each blood cell becomes larger and able to carry more oxygen molecules. You can notice these changes during a training program as distances that once would make you feel tired and out of breath become easier and less effortful.

The body is very smart and very insightful. In circumstances where oxygen is harder to come by, it will quickly realize that this special and limited resource needs to be used as effectively and as efficiently as possible. Studies have shown that at altitudes of 2100m and up, the number of blood cells in the bloodstream is higher, and size of red blood cells are bigger. In most basic terms – you can go harder and longer with the same amount of effort.

Now, because the body is so smart (and also lazy), the timing and consistency of training at altitude becomes important. Effects on blood cells can begin as early as 2 hours of exposure, and get better and better with time. If you’ve got a race coming up in a few months, you’ll want to spend about 24 hours total at altitude prior to in order to begin to see tangible changes. If you’ve really got your eye on the prize, the more hours that you can train, the better! Studies have shown that red blood cells increase in size after every 100 hours of altitude training.

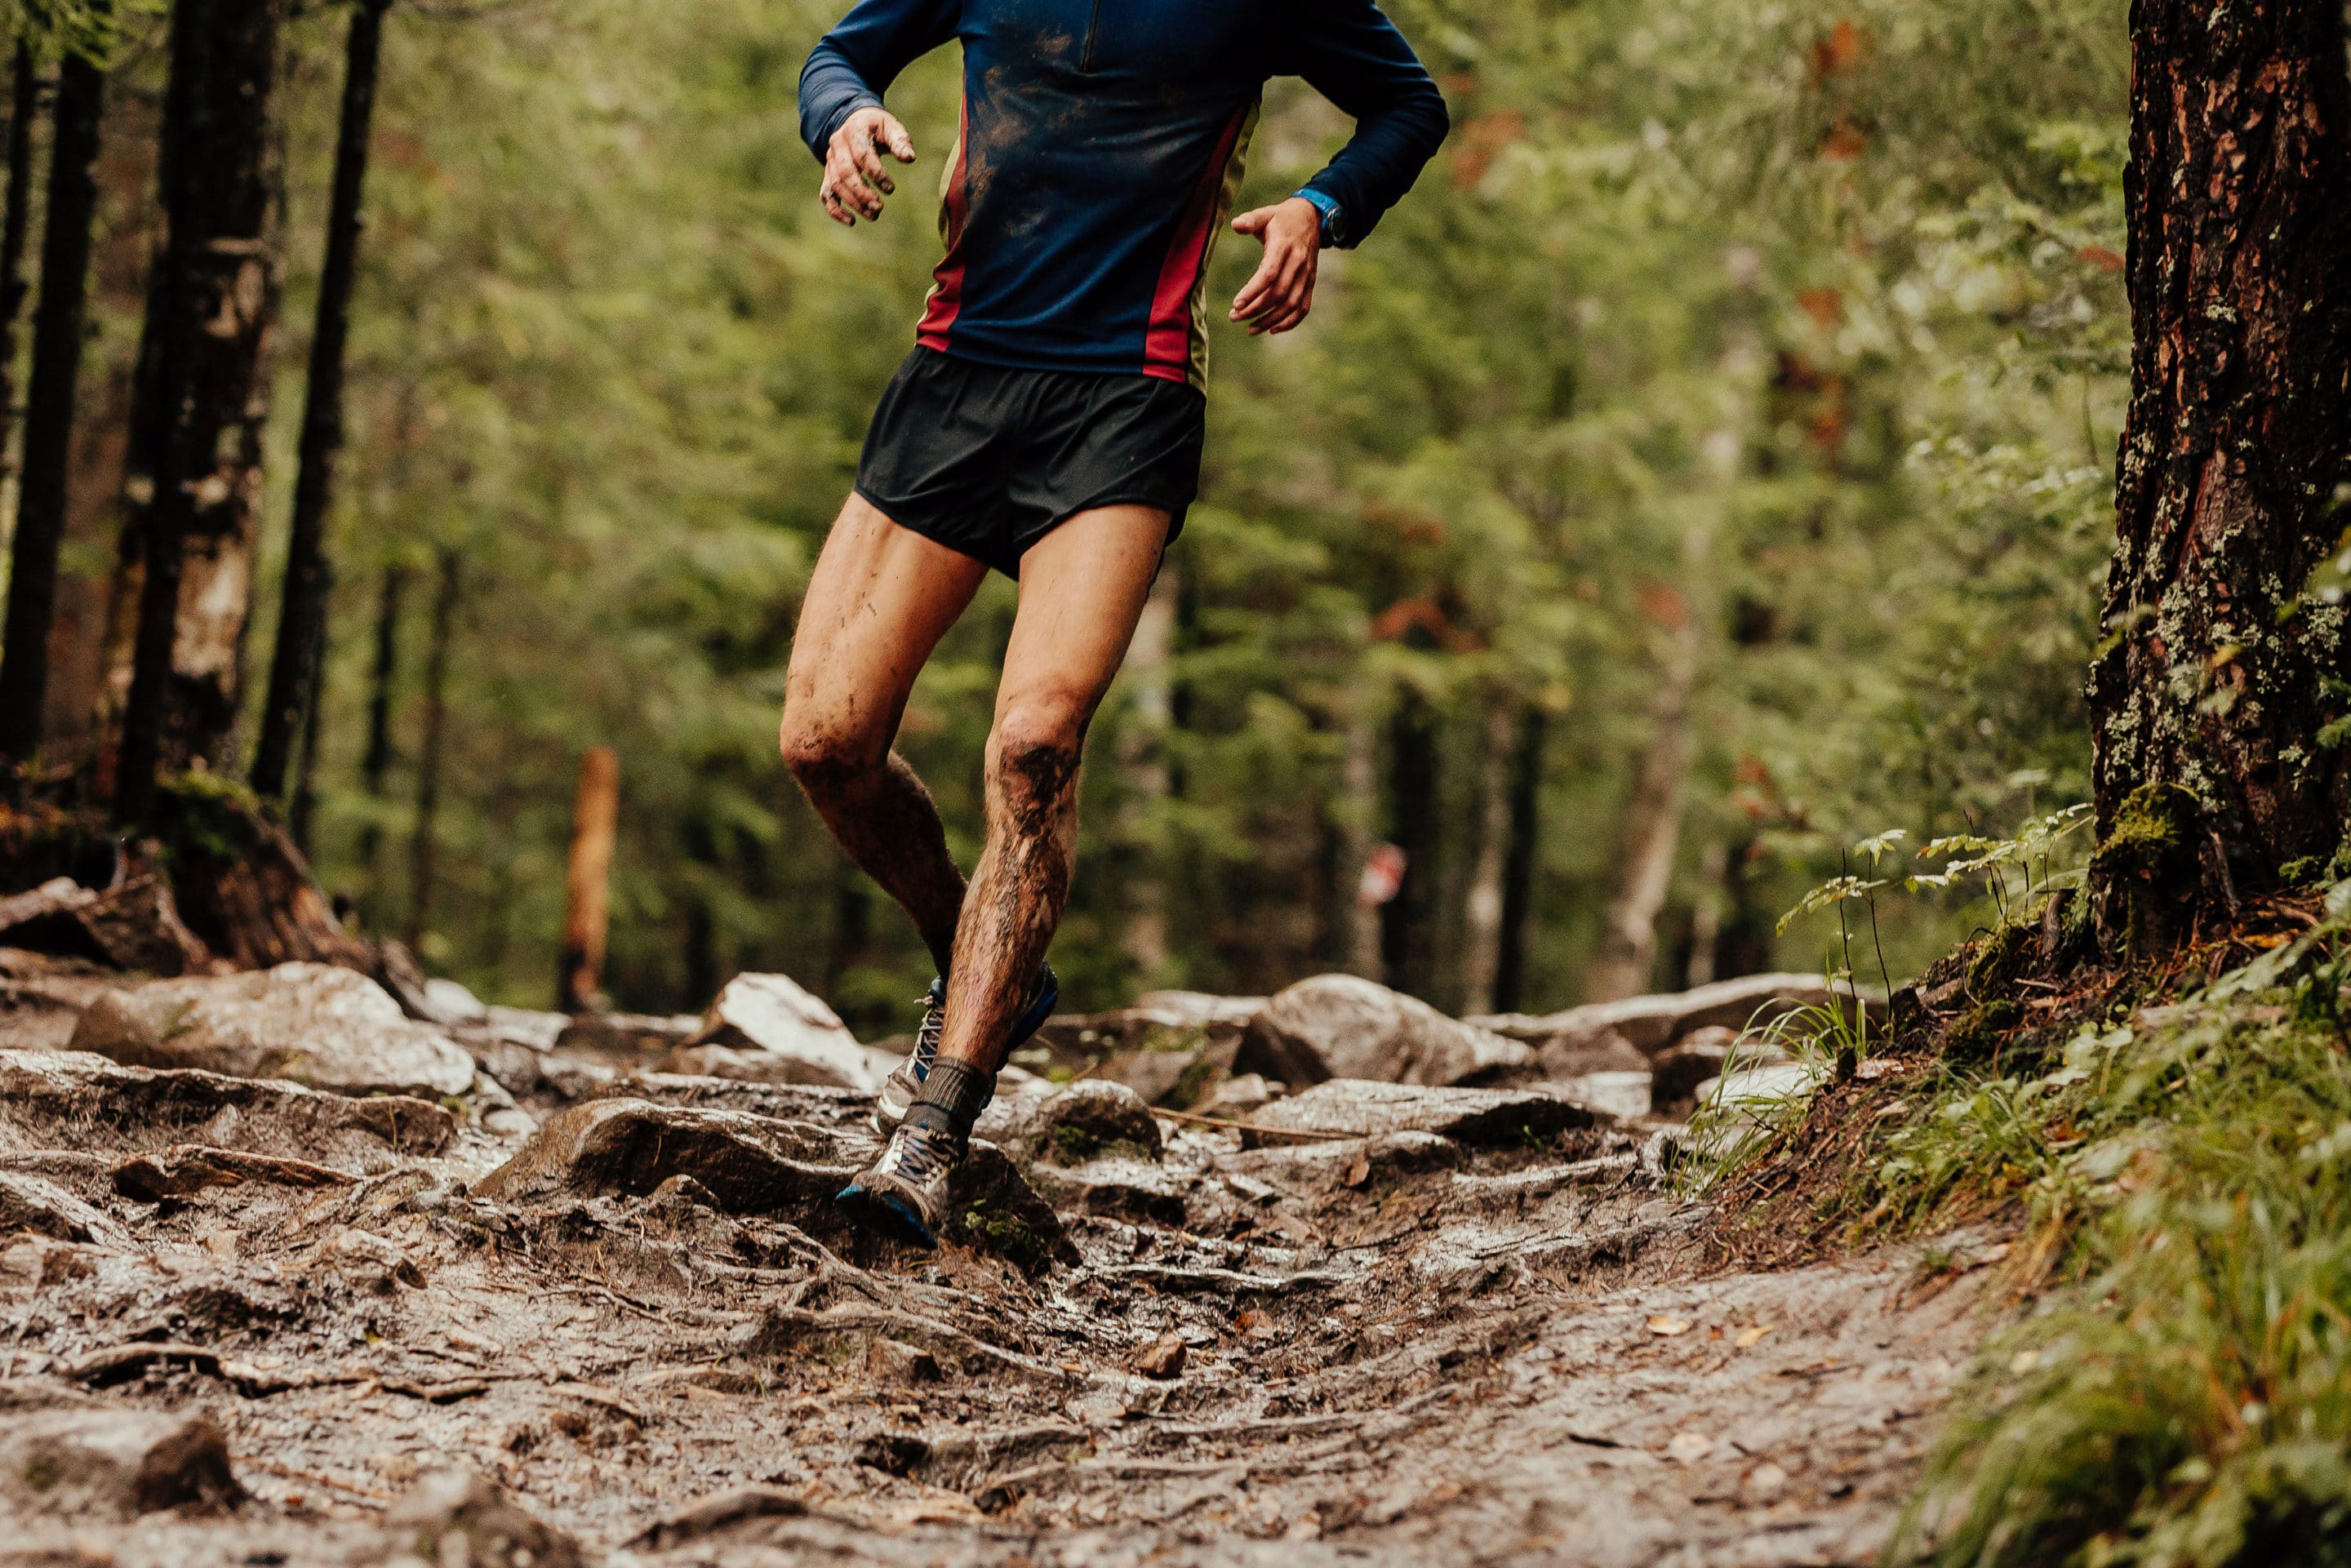
Trail Running Fitness Toronto

Who can benefit from training high in the sky? Well, if you’ve picked a race that is taking place above sea-level, you are absolutely going to want to prep for it by getting yourself acclimatized. Even the most well-rounded training program done at sea level will lend itself to a sub-par race at altitude as the body will be starved for oxygen that isn’t available. Not to mention, it’ll feel fairly awful. Second, even if you don’t have anything high in the sky coming up, you’ll be able to truly maximize your training and body adaptations by getting into the chamber even once per week. More blood cells = more oxygen = more work with less effort. Hello PB!

Maximize your training with us at Altitude: Learn More about our Memberships

How to handle altitude sickness

Imagine your worst hangover. Dizziness, nausea, loss of appetite, the deep desire to just lay down, wherever you are, and sleep. Now, imagine that instead of waking up in your bed after a night out, you’re three quarters of the way up a 12,000 ft. mountain, pushing yourself harder than you ever have in your life. You are experiencing the early symptoms of acute mountain sickness, (or AMS), commonly known as altitude sickness.

Altitude sickness is an illness that develops when the body doesn’t have time to adapt to the decreased air pressure and oxygen levels of high altitude—defined as any area 8,000 ft. above sea level. Symptoms include dizziness, fatigue, shortness of breath, and loss of appetite—wickedly similar to a brutal hangover.

In its most extreme cases, altitude sickness can develop into high altitude pulmonary edema (HAPE), an accumulation of fluid in the lungs, and high altitude cerebral oedema (HACE), swelling of the brain due to a lack of oxygen. Jon Krakauer provides a chilling description of Ngawang Topche, a Sherpa on the 1996 Everest expedition, experiencing HAPE in John Krakauer’s book Into Thin Air. “Ngawang was delirious, stumbling like a drunk, and coughing up pink, blood-laced froth.”

Don’t let this scare you off your planned trip to Kilimanjaro or Everest Base Camp, though. HAPE and HACE are extremely rare. They typically occur when people ignore the symptoms of altitude sickness and continue to physically exert themselves. Just be wary that if you let altitude sickness progress to this level of severity, it can prove fatal.

To ensure this doesn’t happen, follow these tips on how to handle altitude sickness.

Travel Slowly

We get it. You want to be the first one to the top of the mountain. But it’s not worth it if your group has to drag you back down. Don’t turn your ascent into a competition. By not giving your body enough time to adjust to the lack of oxygen you’re much more likely to experience altitude sickness.

According to contemporary research, age, sex and physical fitness have no bearing on a person’s likelihood to be afflicted by the illness. This means that even if you’re one of the fittest people on the planet you can still be affected, especially if you’re racing to the summit.

Before even starting your climb, it’s a good idea to take two to three days to acclimatize to higher altitude. Avoid flying directly into high altitude areas, though. Travel to the destination progressively, acclimatizing as you go.

During the climb, take it slow. Enjoy the view. If you’re hiking with porters or Sherpas, follow their lead. They know the mountain well and will know when it’s best to take a rest. If you’re climbing alone, don’t ascend more than 500 metres a day. After every 900 metres, or three or four days of climbing, take a rest day to avoid overexertion.

Remember, it’s not a race.

Stay hydrated and fed

Dehydration is a major cause of altitude sickness. In part, because high altitude has a diuretic effect on the body, causing you to pee…a lot. And with all the hiking you’ll be doing, you’re going to sweat out liquids fast. Take some hydration salts with you and toss a hydration pack in your bag that you can sip on during the hike. It’s better to carry too much water than not enough.

And just to clarify, no, beer doesn’t count as a liquid. Alcohol dehydrates you and can accelerate the altitude sickness. Save the liquor for the bar. Instead, bring water or sports drinks like Gatorade.

Altitude also tends to rob you of your appetite, slowing down your digestion. To have enough energy to hike each day, eat more than you feel is necessary. Oatmeal is a good idea in terms of meals, especially if you add some nuts and berries. And bring snacks for the climb. Munching on a chocolate bar along the way may give you the energy you need to make it to the summit.

Treat Symptoms immediately

As mentioned earlier, if not treated, altitude sickness can evolve into worse illnesses like HAPE and HACE. If you are feeling the onset of symptoms, stop and rest. Wait a day or two until the symptoms have completely receded before continuing to climb.

Proactively, you can take Diamox one to two days before starting your climb. The medication reduces symptoms and eases your adjustment to altitude. If you’re still feeling the effects while climbing, try combatting headaches with ibuprofen and Tylenol. And promethazine can work wonders when feeling sick.

If you’re still exhibiting symptoms after 24 hours, turn around and start to descend. Once down at the base, the symptoms should dispel after two to three days. Don’t try ascending to high altitude again until the symptoms are completely gone.

Train at Altitude

Before leaving for an expedition, mountaineers can pre-acclimate and prepare for high altitudes by sleeping and exercising at simulated altitude. This is a great option if you live at sea-level and can’t easily access the mountains.

Simulated altitude training is exercising in or breathing air with less oxygen to replicate the thinner air you find up in the mountains. Simulated altitude is created by decreasing the percentage of oxygen in the air below 20.9% oxygen (the amount of oxygen in the air at sea-level). There are two strategies for altitude training: Live High, Train Low and Intermittent Hypoxic Training. Both methods have been shown to improve performance in recreational and professional athletes, and those travelling to high altitudes.

Live High, Train Low

Doing sedentary tasks at altitude for longer durations, i.e “Living High”, while training at a lower level, can stimulate erythropoiesis (the process that produces red blood cells).

Sleep tents and larger altitude tents can be set up at home, so you can get 6+ hours of high-altitude exposure and then be back down to sea-level in seconds. Simulated altitude training can lower the age of red blood cells and increase hemoglobin mass (hemoglobin is an oxygen-carrying protein). These changes in the blood can help reduce and prevent symptoms of altitude sickness.

Intermittent Hypoxic Training

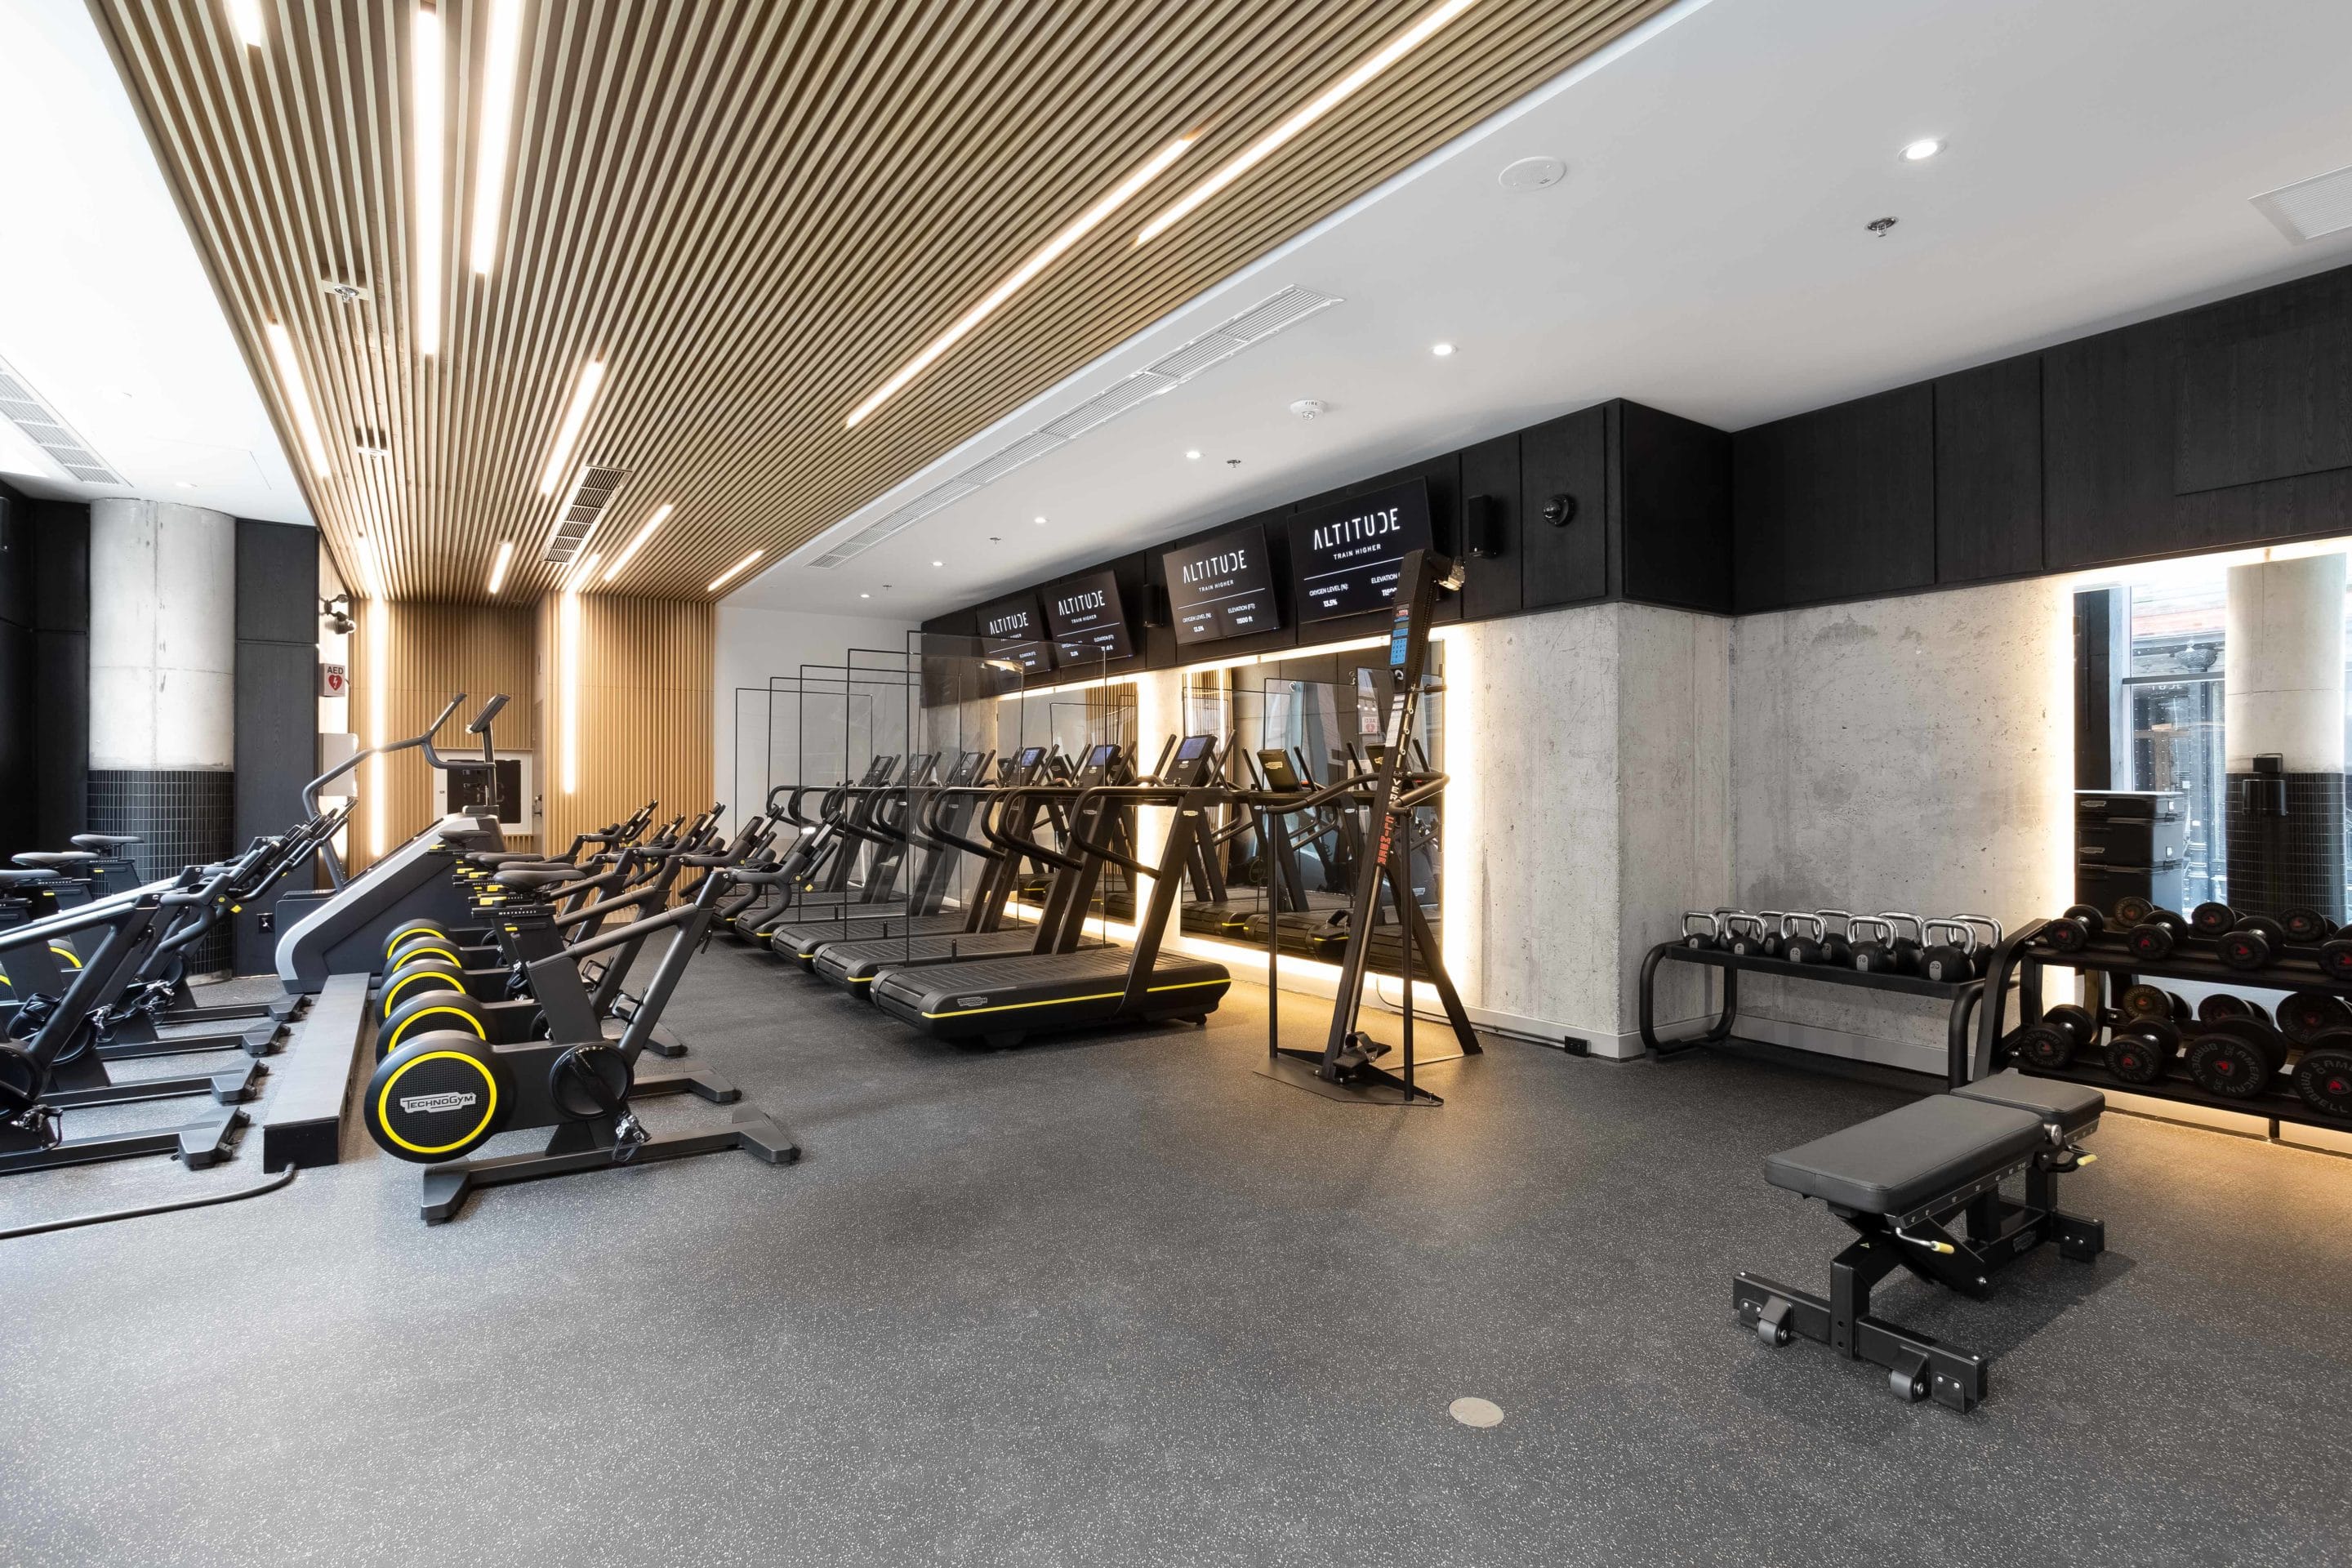
Intermittent Hypoxic Training (IHT) is living at sea-level and exercising at altitude. If you’ve got a stationary bike or treadmill at home, you can use a simulated altitude training mask to breath hypoxic air while you’re training. Otherwise, there are special gyms that can actually simulate altitude with no masks needed.

Finally, if you’re experiencing symptoms –  tell someone. Your travel companions are there to help and will have clearer heads to assess the situation.

While it is a hindrance, if you monitor and treat the symptoms appropriately, altitude sickness should not be the reason you miss making it to the summit.

5 Tips To Prepare for the Trek to Everest Basecamp

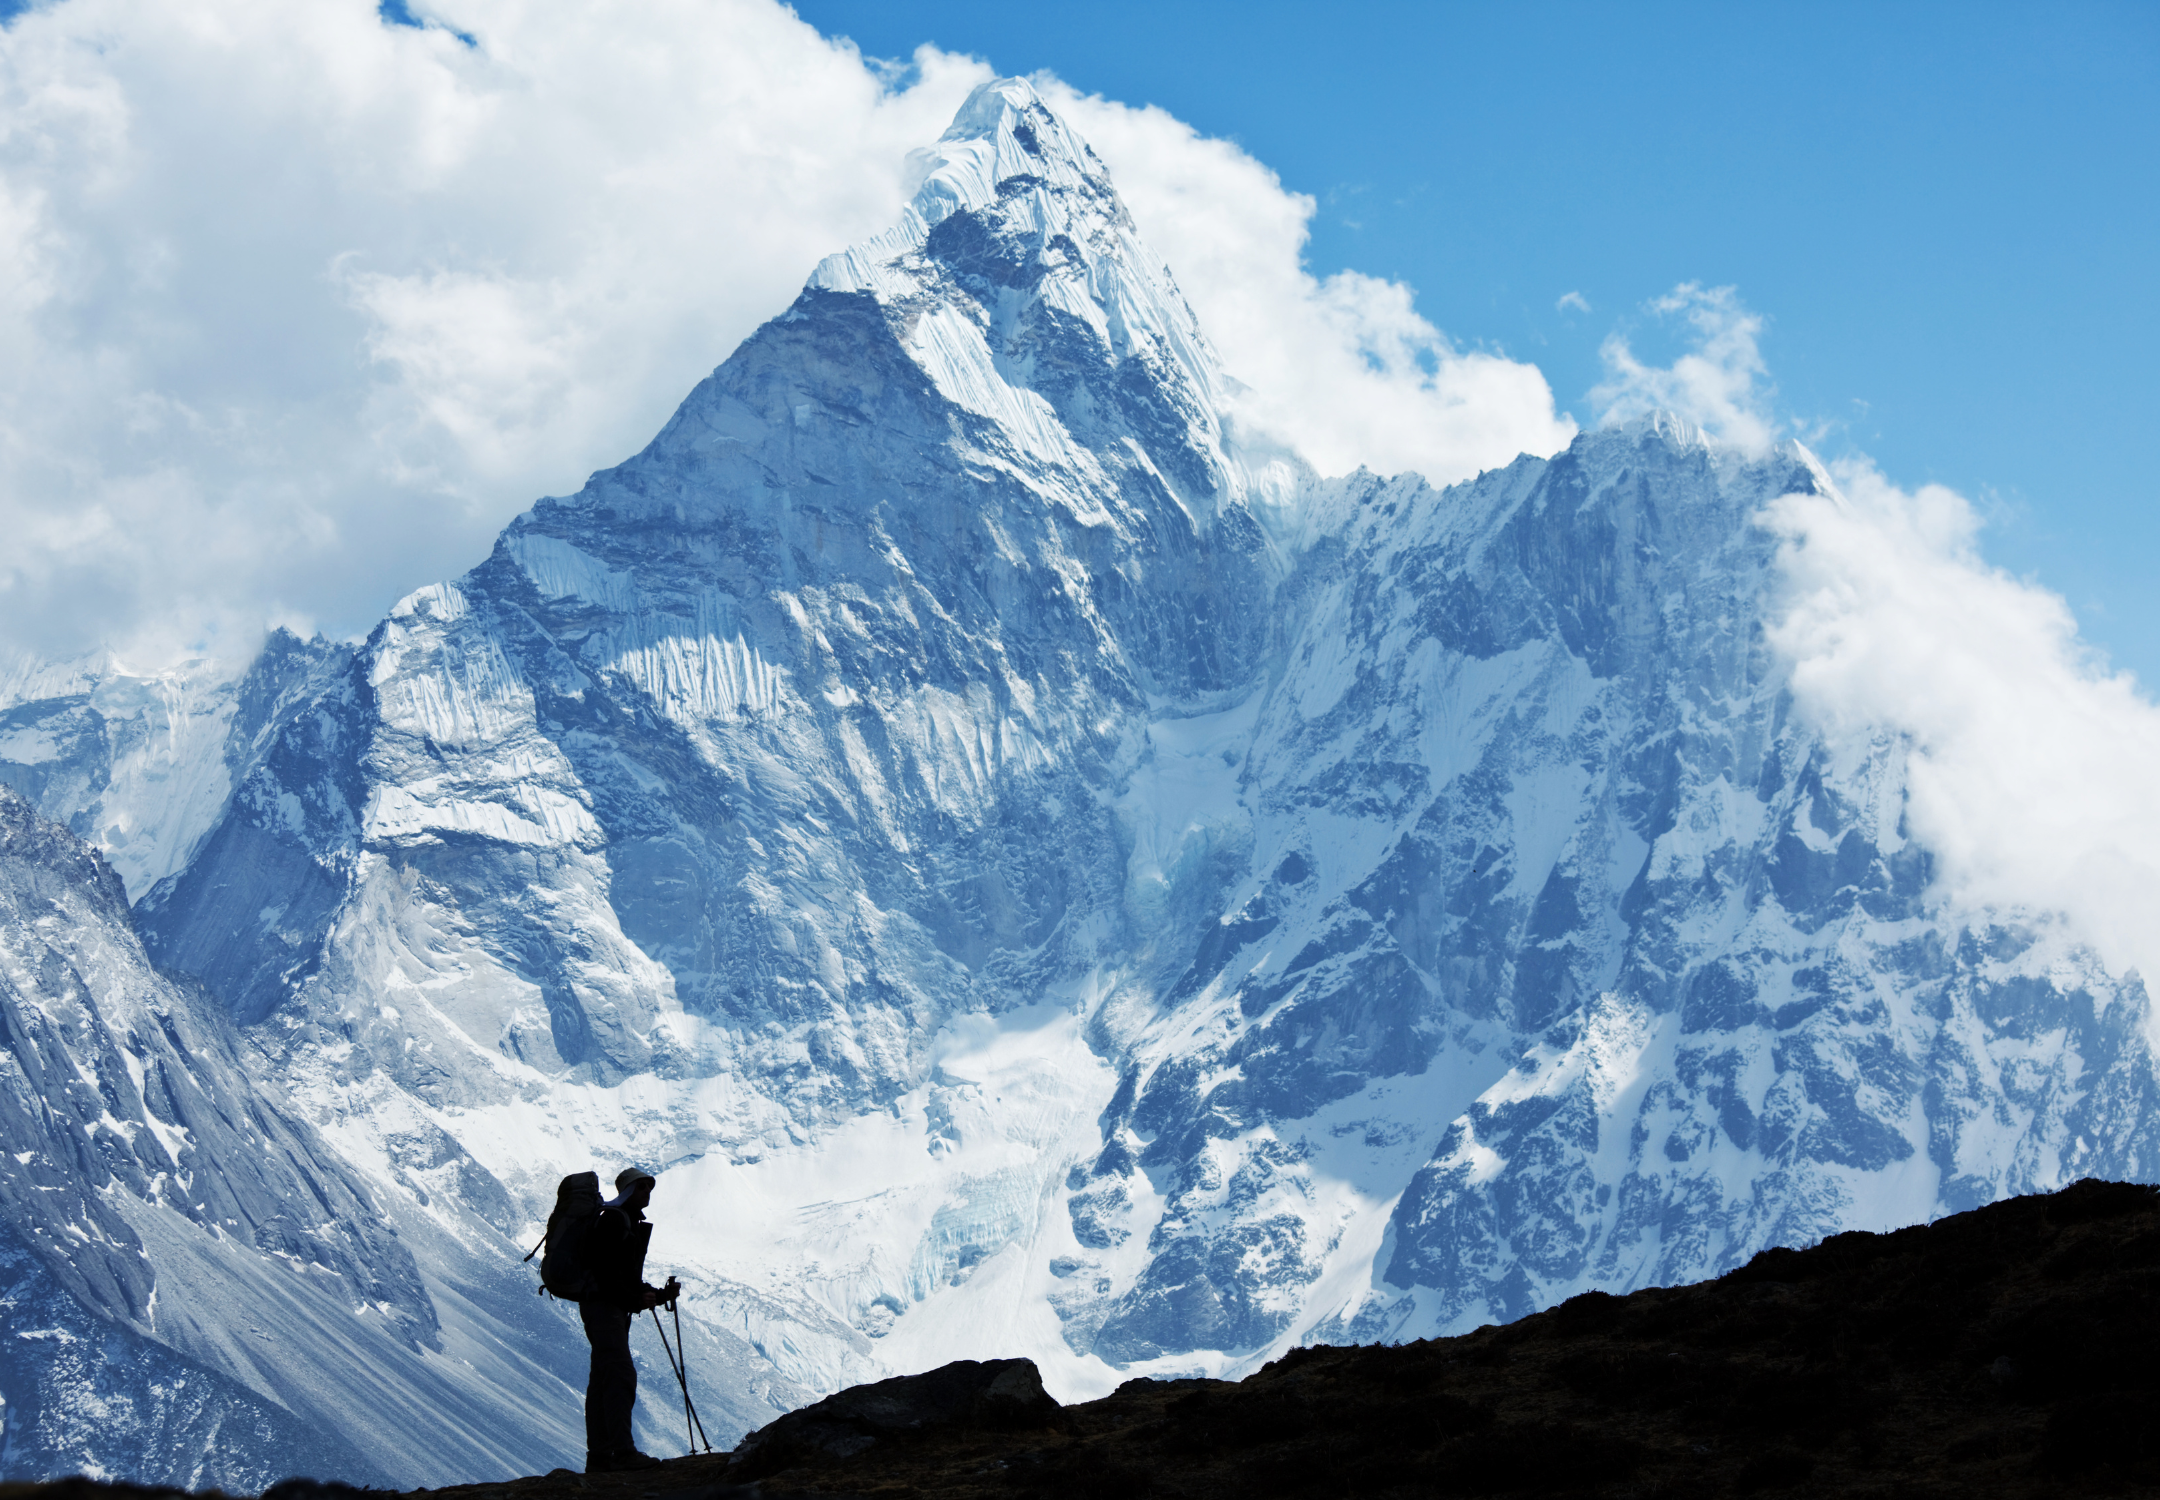
Are you planning to trek to Everest basecamp? With an altitude of 5,364 meters (17,598 feet), the Base Camp is the starting point for mountaineers who are attempting to climb the world’s highest mountain, Mount Everest. But you don’t have to be a mountaineer to experience the magic of the Everest Base Camp trek.

Whether you’re a seasoned hiker or a beginner, it’s important to prepare your body for the physical demands of this challenging journey. So get ready to lace up your hiking boots and learn how to prepare for a journey to the roof of the world. Here are some tips for training:

  1. Build endurance: Trekking to Everest basecamp involves long days of hiking at high altitudes. If you have access to a simulated altitude environment (like an altitude chamber), doing your cardio sessions in this environment would be an ideal form of preparation to build endurance and increase aerobic performance. Training at simulated altitude will help you resist fatigue and maintain high energy during long hikes. If you do not have access to a simulated altitude environment, you can focus on building your endurance by going on longer hikes or walks, gradually increasing the distance over time.
  2. Train with a backpack: You’ll be carrying a backpack with your essentials, so it’s important to get used to the weight. Start by carrying a light backpack and gradually increase the weight as you get stronger.
  3. Get outside: Incorporating outdoor hikes into your training plan is a great way to prepare your body for the challenging weather conditions and terrains you may encounter on the trek to Everest basecamp.
  4. Pre-acclimatize: Altitude sickness is a concern when trekking at high elevations. The trek to Everest basecamp takes you through a range of elevations up to 5,364 m. Longer duration exposures to simulated altitude can help prepare your body for the thin air. Long exposures create hematological adaptations (changes in factors in the blood), which can help reduce and prevent symptoms of altitude sickness. Hematological changes can also further improve delaying fatigue while at high altitudes.
  5. Work with an expert on a training plan: Hiking uphill and downhill for several hours a day can be tough on your legs. Good balance is important when dealing with unstable terrain while fatigued. And stamina is critical on long hiking days. A good coach can make sure you’re well trained for each of these factors – cardio, strength and balance – before you leave. The duration of your training plan will depend on how much time you have to prepare and where you’re currently at physically. But in general, it’s recommended that you start preparing at least 3 months before your trip. Talk to a coach about getting started on a mountaineering-specific training plan for the trek to Everest basecamp: Book Coach Consult 

Remember, training for Everest basecamp is not just about physical preparation, but also mental preparation. Stay positive, stay focused, and enjoy the journey!

To learn more about simulated altitude training and training programs, check out our memberships or email us at info@altitudeathletictraining.com.

How to Know You’re Prepared to Tackle Mount Everest Summit

Standing at the pinnacle of the world on the summit of Mount Everest is a dream for many, but it’s a dream that comes with an immense commitment. Preparing for the Everest summit is a formidable challenge that demands physical endurance, mental fortitude, and a deep appreciation for the mountains. In this blog post, we will explore the key signs that indicate you are ready to tackle the monumental task of reaching the summit of Mount Everest.


1. Physical Fitness and Training

The first and most crucial sign of readiness is your physical fitness. To conquer Mount Everest, you should have an extensive history of high-altitude climbing, preferably with successful ascents of other peaks. Your body should be well-adapted to the extreme conditions, and you should have undergone rigorous training, including strength and endurance exercises, cardiovascular workouts, and altitude-specific training.

Facilities like Altitude Athletic Training in Toronto simulate high-altitude conditions, helping your body adapt to reduced oxygen levels and building the necessary cardiovascular endurance for Everest’s extreme altitudes.

2. Mental Resilience

Mount Everest poses numerous mental challenges, including extreme cold, isolation, and the constant threat of danger. To succeed, you should be mentally resilient, capable of making quick decisions under pressure, and able to stay calm in high-stress situations. The ability to manage fear and anxiety is crucial.

3. Altitude Experience

Experience at high altitudes is a key indicator of readiness. Climbers should have experience ascending 6,000-meter peaks and, preferably, an 8,000-meter peak. This experience not only exposes you to the physical demands of high altitudes but also helps you acclimatize and understand your body’s response to lower oxygen levels.

Spending time in a hypoxic chamber helps your body adjust to lower oxygen levels, replicating the conditions you’ll encounter on Everest. This experience contributes to better altitude tolerance and an understanding of your body’s response.

4. Technical Skills

Mount Everest demands technical climbing skills, including the use of crampons, ice axes, ropes, and navigation equipment. Being proficient in these skills is essential, as Everest’s summit routes involve challenging terrain

5. Adequate Gear and Resources

Successful Everest summiteers come prepared with high-quality gear, experienced Sherpa support, and a reliable expedition operator. Ensure you have the best gear and resources available to increase your chances of a safe and successful ascent.

6. Support Network

Having a strong support network of fellow climbers, guides, and support staff is invaluable. Teamwork and trust among climbers and support personnel are essential for a successful Everest expedition.

7. Mental Preparedness

Before embarking on your Everest expedition, it’s crucial to have a clear understanding of the risks and challenges involved. Mental preparedness involves acknowledging the dangers and understanding the need to turn back if conditions become too perilous. Altitude Athletic Training encourages mental preparedness by exposing you to challenging conditions in a controlled setting.

8. Passion and Dedication

A genuine passion for mountaineering and a deep dedication to reaching the summit of Mount Everest are powerful motivators. Your love for the mountains and the challenge should drive you through the most challenging moments.

Conclusion

Standing on the summit of Mount Everest is a monumental achievement that requires exceptional physical and mental preparation. Recognizing these key signs of readiness is crucial to ensure a safe and successful ascent. Keep in mind that your safety and the safety of your team should always be the top priority. If you possess the experience, physical and mental strength, skills, and resources necessary for the Everest summit, and if your heart yearns for the challenge, you may indeed be ready to embark on the awe-inspiring journey to the top of the world’s tallest peak.

Let’s talk about how hypoxic training can boost your longevity. Schedule a time to meet with one of our expert Altitude coaches.


How difficult is the hike to Machu Picchu?

By this point, you’ve likely scrolled past your fair share of social media pics backdropped by the mysterious Peruvian city in the sky—aunts and uncles communing with shaggy llamas, friends clambering up dirt paths, workmates teetering on a stone outcropping, peering down at the ancient city.

Machu Picchu is one of the most visited tourism destinations in the world. On average, it attracts close to 1.2 million visitors a year and was voted one of the new seven wonders of the world in 2007. The site has become so popular that the Peruvian Ministry of Culture, in an attempt to preserve the site, has had to set a limit of 2,500 tourists entering the citadel a day.

The site’s popularity, however, significantly underplays the effort it takes to get there. At nearly 8,000 ft. above sea level, Machu Picchu is perched amongst one of Peru’s highest mountain ranges. Meaning whichever route you take to reach the Inca Citadel, you’ll have to deal with some major altitude adjustments.

Before embarking on your Inca adventure, check out these potential pitfalls to ensure you’re prepared for the trip.

Feeling funny?

The most pressing concern when ascending to high altitude—defined as any height above 8,000 ft.—is altitude sickness. This occurs when the body doesn’t have enough time to adapt to decreased air pressure and oxygen levels. Symptoms include dizziness, fatigue, shortness of breath, and loss of appetite.

While not everyone who hikes to Machu Picchu will be afflicted by altitude sickness, those who are may see their Inca adventure come to an abrupt end. To prevent this from happening, take Diamox one to two days before starting your hike. The medication helps reduce symptoms and eases the adjustment to altitude.

It’s also a good idea to take the hike slow. Your body needs time to acclimatize to the altitude. To help with the acclimatization process and to make sure you have enough energy, keep yourself well hydrated and fed throughout the hike. The porters cooking your meals should help with this, but it’s still a good idea to throw a hydration pack in your bag and some high calorie snacks.

If you do start to experience symptoms, stop and rest for at least a day. If they don’t go away, it might be time for you to turn around.

Choose a trail, any trail

There are many ways to get to Machu Picchu. The most popular is the Inca Trail, a four-day, three-night hike through lush cloud forests, ancient Inca ruins, and majestic Andean peaks. In 2002, however, the Peruvian Ministry of Culture introduced permits for the trail, limiting the number of people to 500 a day (approximately 300 of those permits are allocated to cooks, porters, and guides, leaving only 200 for tourists).

To hike the Inca Trail, you have to book it months in advance. It isn’t a particularly long hike, spanning only 40 kilometres, but it is straight up some steep Andean paths. The trail hits its peak at Dead Woman’s Pass (named after the crests that resemble a woman’s supine body) standing 13,828 ft. above sea level.

If you weren’t able to secure a permit, don’t worry. There are other options. The Salcantay Route is much easier to book and just as scenic. Taking anywhere between five to eight days, this mule-assisted hike passes by the 20,500 ft. Mount Salcanty, one of the most sacred peaks in Inca religion.

You pass Mount Salcanty at an altitude of 15,000 ft. before plunging into a subtropical cloud forest, eventually passing the ancient Incan ruins of Llactapata, nearly as rewarding a sight as Machu Picchu.

If you’re looking for a more moderate hike—one that involves a train—try The Lares Route. Taking between three to five days, this trek leads you through the Lares Valley, home to Peruvian locals who still practice Inca traditions like raising herds of llamas and weaving cloth. Along the way, you pass by the 18,000 ft. Mount Veronica and a number of high-altitude Lakes. The trail ends near the Ollantaytambo ruins, only a short train ride away from Machu Picchu.

Dress for the weather…all of it

The higher you ascend, the more the air pressure decreases and the further apart the air molecules spread, causing the temperature to drop. Yet, in the case of Machu Picchu, you may also experience a scorching midday sun that has you sweating through your jacket. To deal with the swings in temperature, wear layers. This way you can shed them as you hike.

When you book your trip, be wary of the time of year. End of November to beginning of April is Peru’s rainy season. Many of the trails are closed between these months, but in case you do manage to book a hike during this time of year, bring a waterproof rain jacket and tent fly. You never know when you might get caught in a downpour. Starting each morning’s hike soaking wet is a surefire way to catch a cold.

Get in shape!

This one should be obvious, but if you’re going to attempt a four-day hike at high altitude make sure you’re physically prepared. You don’t want to be the person gasping for breath after the first couple hours. Not only will it ruin the experience but it will hold back the group.

In order to prepare for the hike, focus on cardio exercises like running, walking, and swimming. Try to introduce these exercises into your daily routine a few months before your trip. And if you really want to be prepared, come in for a workout at Altitude Athletic Training in Toronto.


We can help make sure you’re training effectively to resist fatigue and maintain high energy on your trek. Exposure to the altitude environment will help you pre-acclimate to reduce and prevent symptoms of altitude sickness. You can find some more benefits here: Hiking, Climbing and Mountaineering. Machu Picchu will feel like a walk in the park after working out with us.

Climbing Kilimanjaro? Here’s Why You Should Be Doing Simulated Altitude Training

You’ve decided to climb Kilimanjaro. At 5,895 m, you’ll be tackling the tallest mountain in Africa. Are you ready?

Being physically prepared is critical to a successful climb. You want to think back on your trip with fond memories of reaching the summit and feeling good, not turning back early. For most of us, these trips are an expensive, once-in-a-lifetime kind of thing. Having to cut your trip short due to altitude sickness, lack of fitness or both is a shame. Especially because there are tools out there to help prevent that from happening.


Simulated Altitude Training for Climbing Kilimanjaro

If you live at sea-level and can’t easily access the mountains, you may want to consider what’s called ‘simulated altitude training’. Simulated altitude training is exercising in or breathing air with less oxygen to replicate the thinner air you find up in the mountains. Simulated altitude is created by decreasing the percentage of oxygen in the air below 20.9% oxygen (the amount of oxygen in the air at sea-level).

From sleeping in an altitude tent to lifting weights at an altitude gym, simulated altitude training methods can be used to get you ready for Kilimanjaro. We break down the two most commonly used methods below:


Method 1: Intermittent Hypoxic Training

Intermittent Hypoxic Training (IHT) is living at sea-level and exercising at altitude. If you’ve got a stationary bike or treadmill at home, you can use a simulated altitude training mask to breath hypoxic air while you’re training. Otherwise, there are special gyms that can actually simulate altitude with no masks needed. 

These shorter duration workouts at simulated altitude are designed to provide a greater training intensity. They trigger physiological adaptations that can improve overall health and performance. These adaptations require a minimum training period of 4-6 weeks, 3-4x per week. Sessions should last around 60 minutes.

Simulated Altitude Gym – Intermittent Hypoxic Training


Perform better at high-altitude

IHT optimizes the body’s ability to use and process the oxygen available to it. Why does that matter to you as a hiker preparing for Kilimanjaro? Because when your muscles and tissues use oxygen more efficiently, you can sustain longer periods of exertion. This becomes especially important when there is less oxygen available to you at high altitudes.

Another good thing about training your body to use oxygen more efficiently? You’ll reduce reliance on supplemental oxygen. Usually, climbers do not need supplemental oxygen to climb Kilimanjaro or reach the summit. But, if you find yourself in a position where you do need it, training at altitude can help extend the life of your oxygen tank.


Delay fatigue and recover faster between treks

The more you can push away the start of fatigue during your trek, the better. In altitude environments, metabolic by-products associated with fatigue build up quicker with less oxygen available to the muscles. (Think of that burning feeling in your legs during a hard spin class). Training at simulated altitude can reduce and delay the onset of fatigue during physical activity by increasing the buffering capacity of metabolic by-products. We’re essentially making our bodies better at pushing away these fatigue-causing by-products.


Method 2: Live High, Train Low

Live high train low (LHTL) is living at high altitudes and training at lower altitudes (close to sea-level). Living in an altitude environment stimulates changes in the blood that can lead to improved performance and help with pre-acclimation.

If you live at sea-level, it’s not easy to just pack up and move out to a place like Flagstaff, Arizona where you can live at 2100m and a short 30-minute commute can get you to 950m. An easier option? Sleep tents and larger altitude tents can be set up at home, so you can get 6+ hours of high-altitude exposure and then be back down to sea-level in seconds. This strategy requires a minimum of 3-4 weeks. However, 6-12 weeks is better so that the altitude can be ramped up slowly.


Reduce risk of Acute Mountain Sickness

LHTL can lower the age of red blood cells and increase hemoglobin mass (hemoglobin is an oxygen-carrying protein). These changes in the blood can help reduce and prevent symptoms of Acute Mountain Sickness (AMS). Also, many people struggle when sleeping at altitude. Fatigue will increase the risk of something going wrong on the mountain. Sleeping at altitude in the weeks leading up to your trip will help your body get used to the reduced oxygen and improve quality of sleep.


 Altitude Sleep Tent for Live Low Train High


Climbing Kilimanjaro is a physical challenge. Many people underestimate the fitness required for this mountain. (Or say they would have enjoyed the trip more had they been in better shape.)Simulated altitude training will not only help you get in shape for the climb, but also prepare you for the altitude. Then, your hard work will be rewarded by a beautiful, peaceful and enjoyable climb.


References:

(1)

(2)

(3)

Altitude Athletic is Toronto’s first and one of the largest altitude training facilities in the world. We’re here to help you prepare for your next big climb, event or meet your health goals. Click here to learn more about what we do at Altitude.

Contact Us